A driveway is an essential part of any property, providing a convenient and accessible path for vehicles. To ensure the durability and stability of your driveway, choosing the right Geo Grid for Driveway is crucial. Geogrids are synthetic materials that are used to reinforce soil and other granular materials, improving their strength and load-bearing capacity. In this article, we will explore the factors to consider when choosing a geogrid and Geogrid Manufacturer for your driveway, along with some real-world case studies to illustrate the importance of making the right choice.
1. What Is Geo Grid for Driveway?
Geogrids are typically made from high-density polyethylene (HDPE), polyester, or polypropylene. They come in various forms, including uniaxial and biaxial geogrids. Uniaxial geogrids have a high tensile strength in one direction, making them suitable for applications where the load is primarily in one direction, such as in retaining walls. Biaxial geogrids, on the other hand, have high tensile strength in both directions, making them ideal for driveways where the load is distributed in multiple directions.
1.1 Plastic Biaxial Geogrid
1.2 Plastic Uniaxial Geogrid


2. Factors to Consider When Choosing a Geo Grid for Driveways
2.1 Geo Grid for Driveway – Load Capacity:
The first factor to consider is the load capacity of the geogrid. You need to determine the maximum weight of the vehicles that will use the driveway and choose a geogrid that can withstand that load. This is especially important if you have heavy vehicles, such as trucks or SUVs, using the driveway.
2.2 Geo Grid for Driveway – Soil Conditions:
The type of soil on your property will also affect the choice of geogrid. If you have soft or unstable soil, you will need a geogrid with a higher tensile strength to provide adequate reinforcement. Additionally, if the soil is prone to erosion, you may need a geogrid with a specific design to prevent soil movement.
2.3 Geo Grid for Driveway – Installation Method:
The installation method of the geogrid is another important consideration. Some geogrids are easier to install than others, and you need to choose a geogrid that is compatible with your installation method. For example, if you are installing the geogrid yourself, you may want to choose a geogrid that is easy to handle and install.
2.4 Geo Grid for Driveway – Cost:
Cost is always a factor when choosing any product, and geogrids are no exception. You need to compare the costs of different geogrids and choose one that fits your budget. However, it is important to remember that the cheapest geogrid may not always be the best option, as it may not provide the necessary strength and durability.
2.5 Geo Grid for Driveway – Environmental Conditions:
The environmental conditions of your property, such as temperature and humidity, can also affect the performance of the geogrid. You need to choose a geogrid that is suitable for the environmental conditions of your area. For example, if you live in an area with extreme temperatures, you may need a geogrid that is resistant to heat and cold.
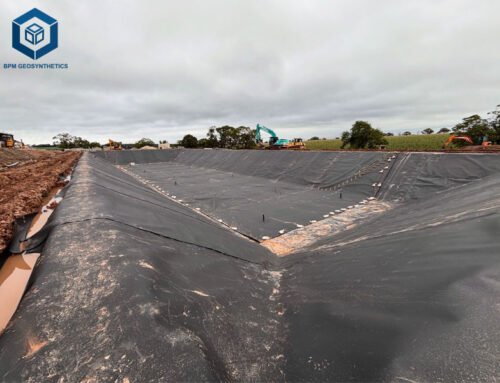
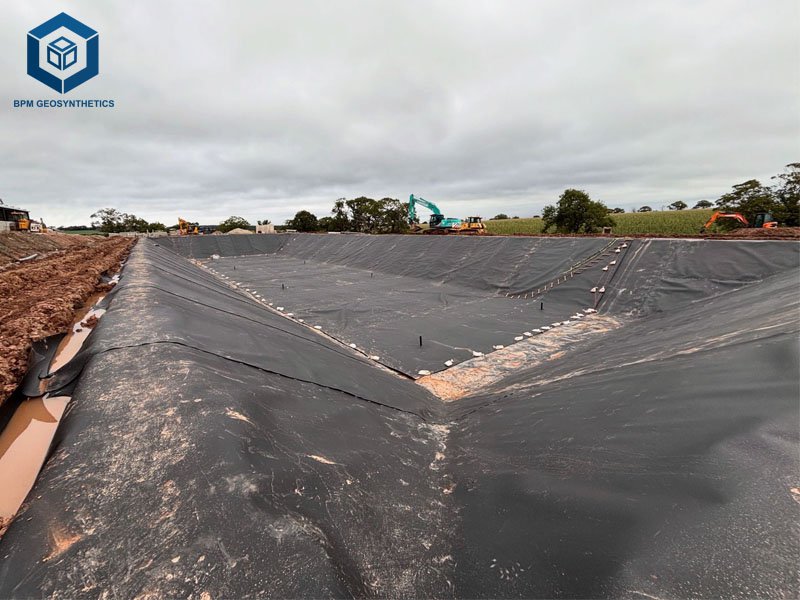
3. Geo Grid for Driveway – Case Studies
3.1 Case Study 1: Residential Driveway in Soft Soil
A homeowner in a suburban area was experiencing problems with their driveway, which was sinking and cracking due to the soft soil beneath it. The homeowner consulted with a geotechnical engineer, who recommended using a biaxial geogrid to reinforce the soil. The engineer selected a high-strength biaxial geogrid with a tensile strength of 80 kN/m in both directions. The geogrid was installed over a layer of compacted gravel, and a new asphalt surface was laid on top. After the installation, the driveway was able to withstand the weight of the homeowner’s vehicles without any further sinking or cracking.
3.2 Case Study 2: Commercial Driveway in Heavy Traffic Area
A commercial property owner in a busy urban area was looking to upgrade their driveway to accommodate the heavy traffic of delivery trucks and other commercial vehicles. The property owner consulted with a geotechnical engineer, who recommended using a uniaxial geogrid with a high tensile strength in the direction of the traffic flow. The engineer selected a uniaxial geogrid with a tensile strength of 120 kN/m in the longitudinal direction. The geogrid was installed over a layer of crushed stone, and a new concrete surface was laid on top. After the installation, the driveway was able to withstand the heavy traffic without any signs of wear or damage.
3.3 Case Study 3: Driveway in Erosion-Prone Area
A homeowner in a coastal area was experiencing problems with erosion on their driveway, which was causing the soil to wash away and the driveway to become unstable. The homeowner consulted with a geotechnical engineer, who recommended using a geogrid with a specific design to prevent erosion. The engineer selected a geogrid with a high open area and a textured surface to increase the friction between the geogrid and the soil. The geogrid was installed over a layer of filter fabric, and a new gravel surface was laid on top. After the installation, the driveway was able to withstand the erosion and remain stable.


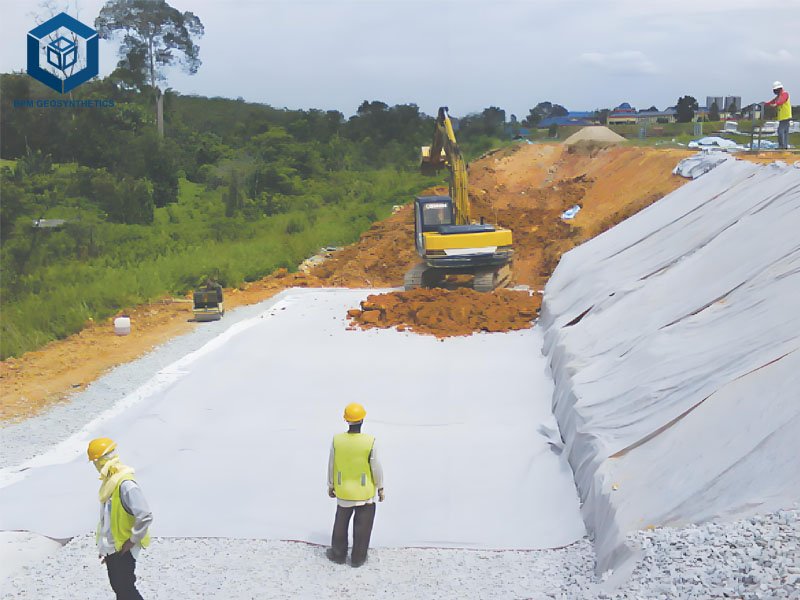
4. How to Install Geo Grid for Driveway?
Geogrid installation is crucial for stabilizing driveways, reducing rutting, and extending pavement life. Below is a step-by-step guide focusing on geogrid-specific installation techniques.
4.1 Site Preparation
-
Excavate to the required depth (typically 6–12 inches).
-
Remove organic material, soft spots, and debris.
-
Grade & Compact the subgrade to ensure a firm, level base (use a plate compactor or roller).
4.2 Unrolling & Aligning the Geogrid
-
Unroll the geogrid (e.g., BPM Geosynthetics’ biaxial geogrid) over the prepared subgrade.
-
Ensure proper orientation (strongest axis should align with primary traffic direction).
-
Avoid wrinkles or folds—keep the geogrid flat for optimal load distribution.
4.3 Overlapping & Securing the Geogrid
-
Overlap adjacent rolls by 6–12 inches (follow manufacturer specs).
-
Temporarily secure with ground stakes or pins if needed (especially on slopes).
-
Trim excess with a utility knife for clean edges.
4.4 Adding & Compacting Base Material
-
Place a 2–4 inch layer of gravel (¾” crushed stone) directly over the geogrid.
-
Use a rake or dozer to spread gravel, ensuring it fully engages the geogrid apertures.
-
Compact in 2-inch lifts with a plate compactor—this interlocks aggregate with the geogrid for maximum strength.
4.5 Optional: Multi-Layer Reinforcement (For Heavy Loads)
-
For extra stability, install a second geogrid layer midway through the base.
-
Add more gravel and compact again.
4.6 Final Surface Layer
-
Apply a top dressing of finer gravel (½” minus) for a smooth finish.
-
Compact one final time to lock the surface in place.
5. Conclusion
Choosing the right geogrid for your driveway is crucial for ensuring long-term durability and stability. When selecting a geogrid solution—such as those offered by BPM Geosynthetics—key factors to consider include load capacity, soil conditions, installation requirements, cost-effectiveness, and environmental resilience. BPM Geosynthetics provides high-performance biaxial and multiaxial geogrids designed to enhance load distribution, reduce rutting, and extend the lifespan of driveways under various conditions. Real-world applications demonstrate how BPM’s geogrids effectively reinforce gravel and paved driveways, minimizing maintenance needs. For optimal results, consult BPM’s technical team or a geotechnical engineer to determine the best geogrid for your specific project requirements, ensuring proper installation and maximum performance.

